

Visual Assist is a coding productivity tool for C++ and C# developers. It extends Visual Studio to make the programming experience better by providing tools for understanding code, checking code, and writing code. Some of its benefits include fast navigation, code inspection and modernization, many refactorings, code correction, Unreal Engine 4 support (for which it is famous), and code assistance. In this article, we will walk through the steps needed to set up Visual Assist and show you a very brief overview of how to use it.
1. Installing Visual Assist
First, visit the Whole Tomato Visual Assist website to download the installer. You can use Visual Assist for free for a month as a trial, or alternatively, you can choose to buy a license from the get-go. Keep in mind that once your free trial is over, you will need to buy the license to keep using it.
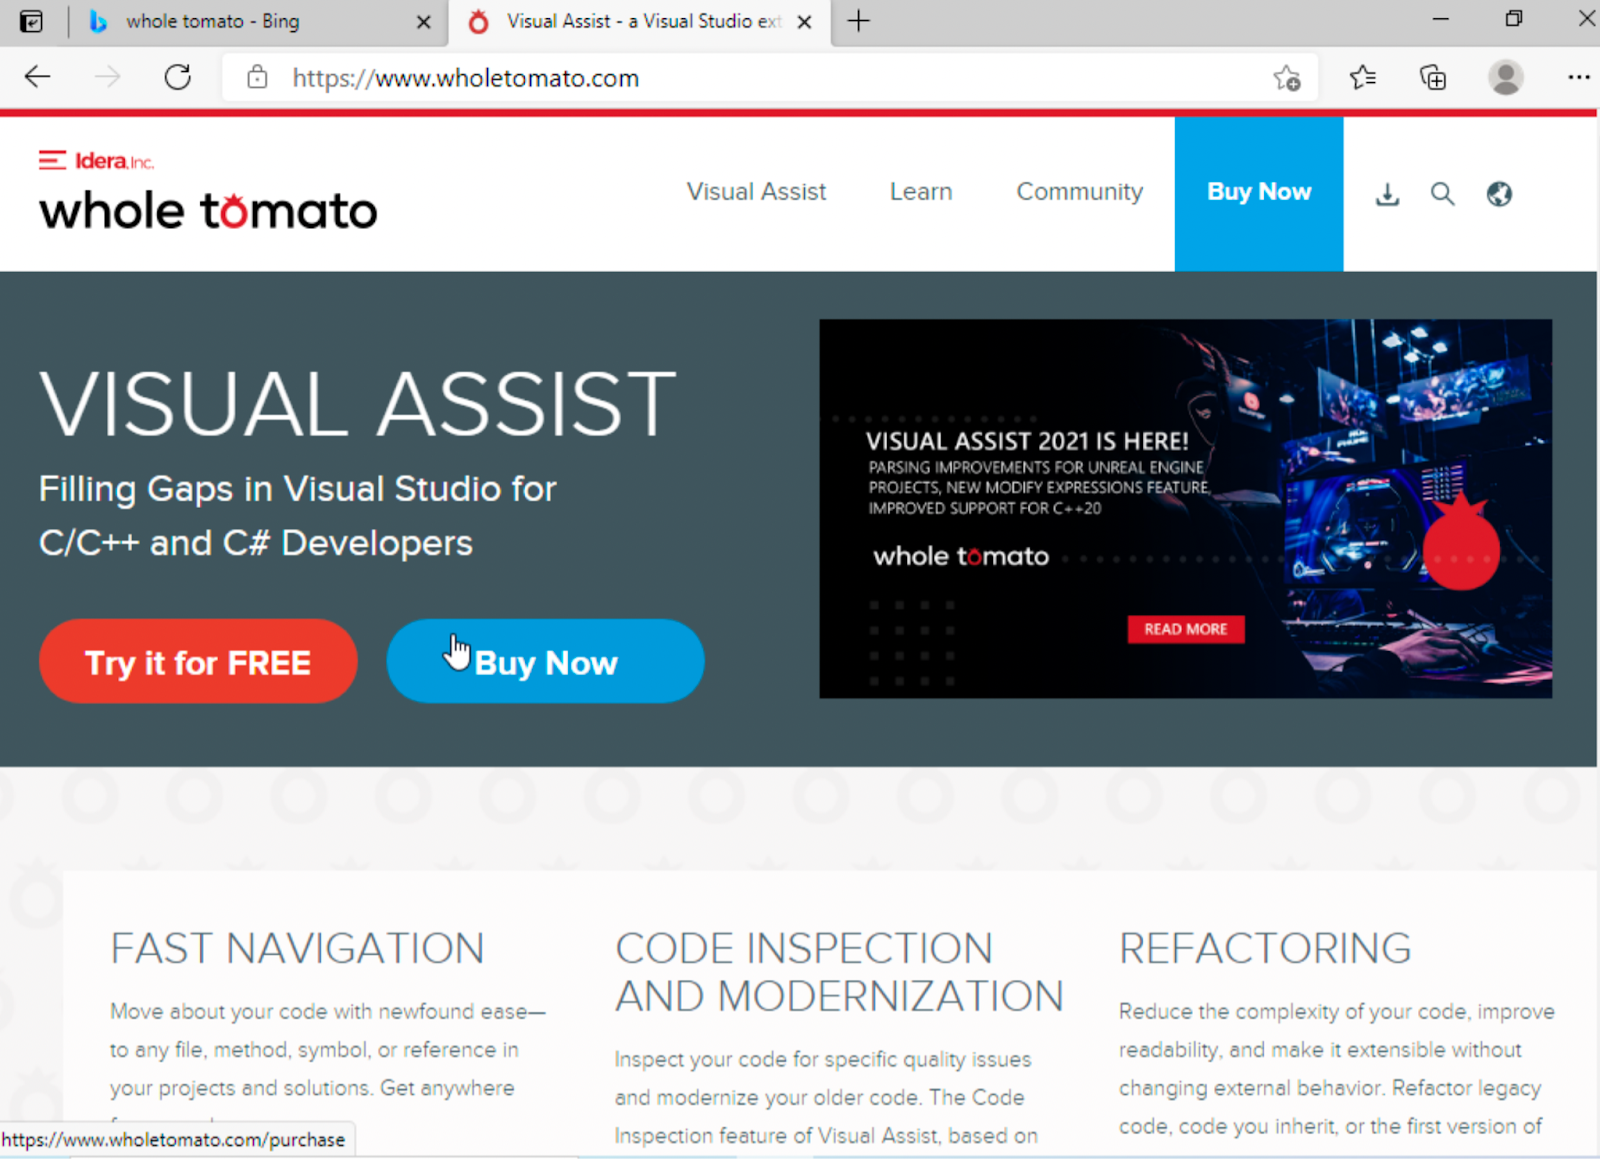
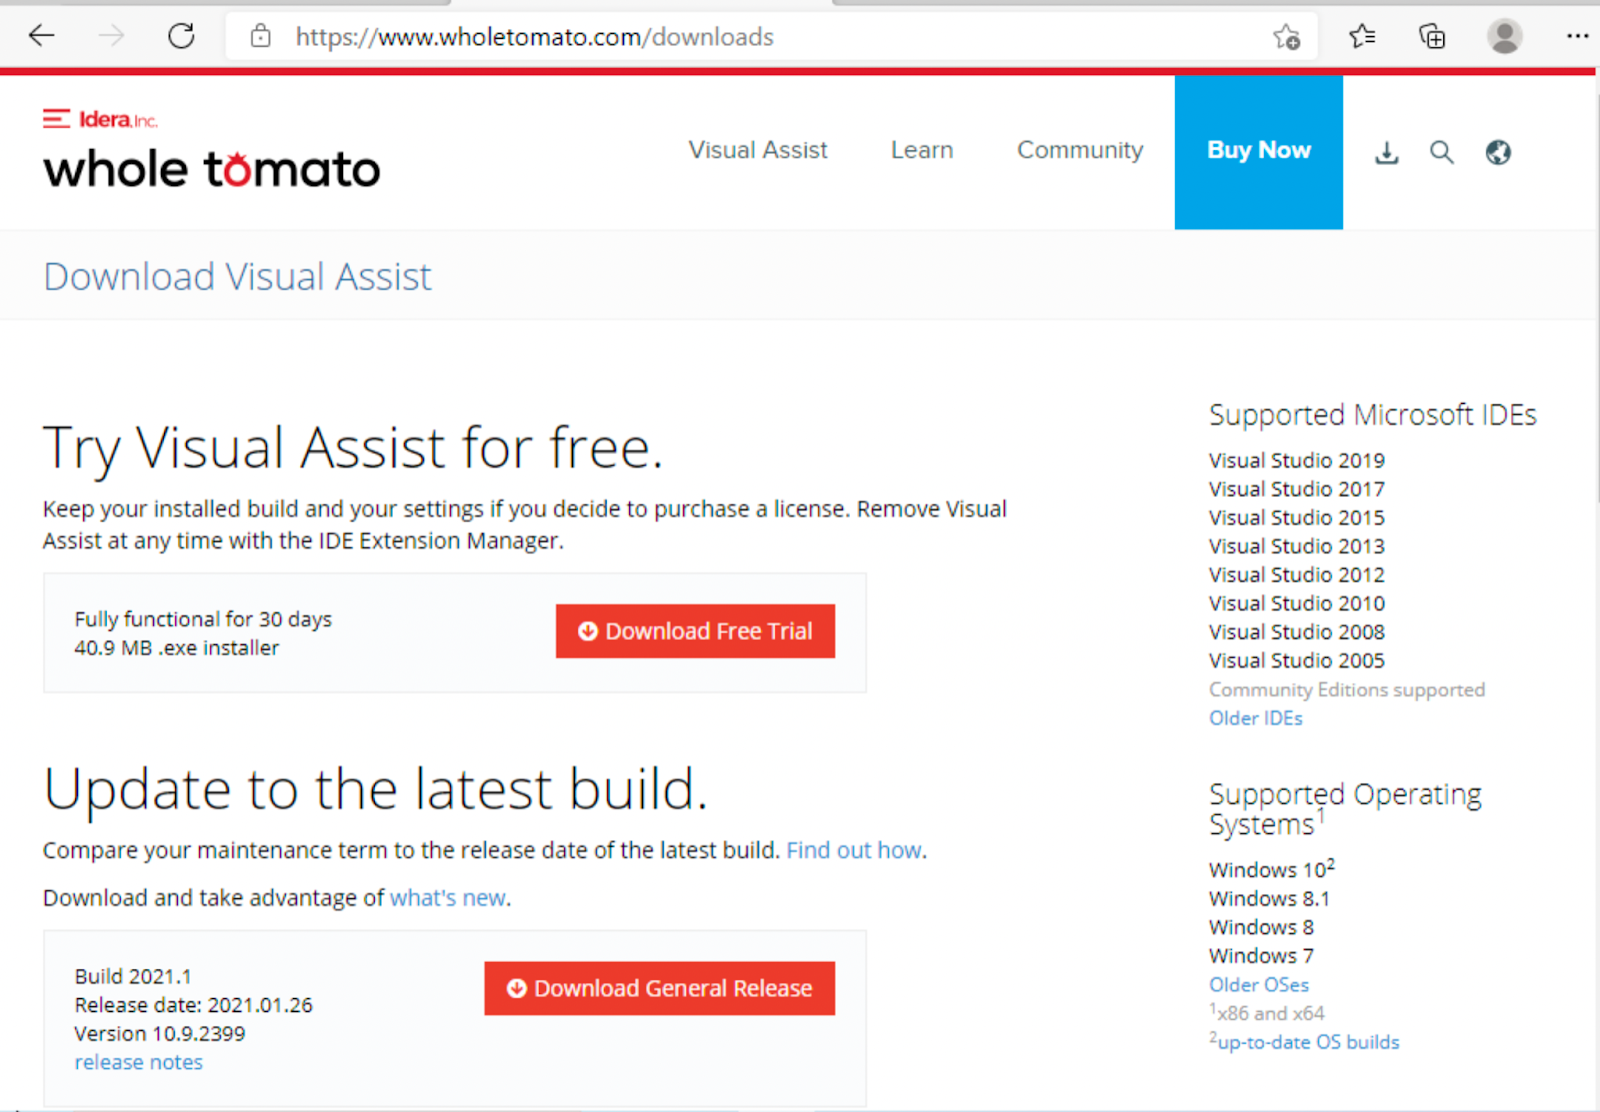
On the main page, click the red “Try it for free” button, and on the next page, click “Download Free Trial” to download the installer.
Before downloading the file, you will need to fill in some required information.
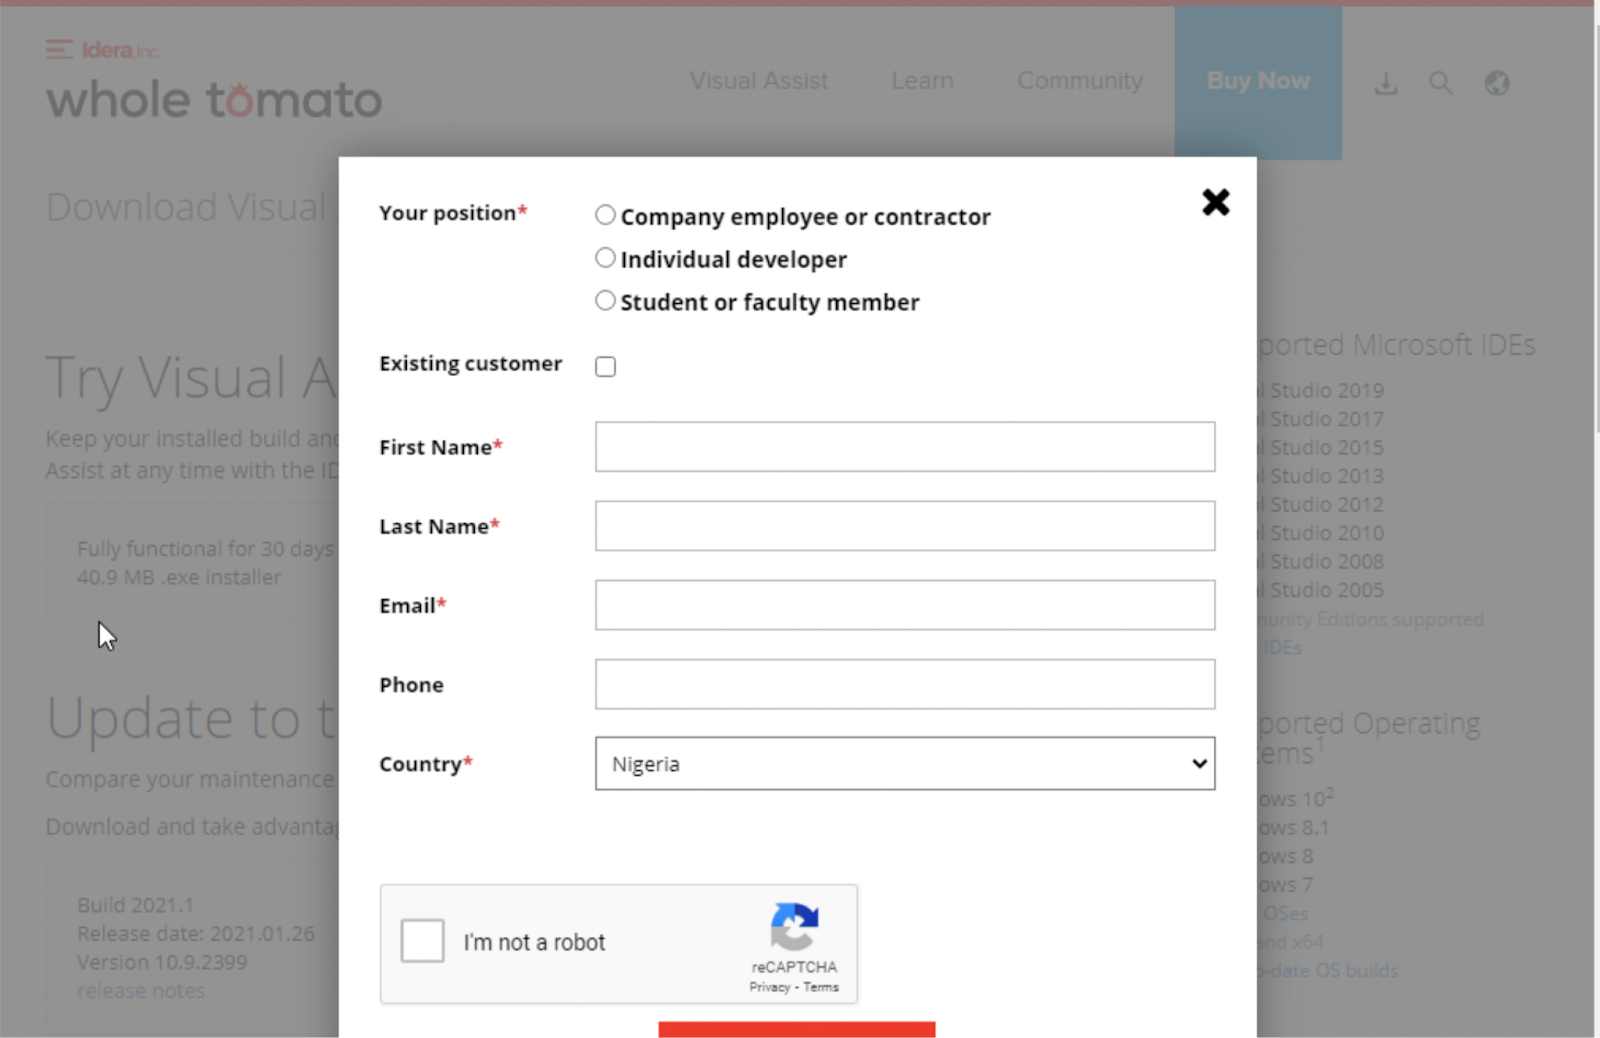
Once you have completed this step, your download will begin.
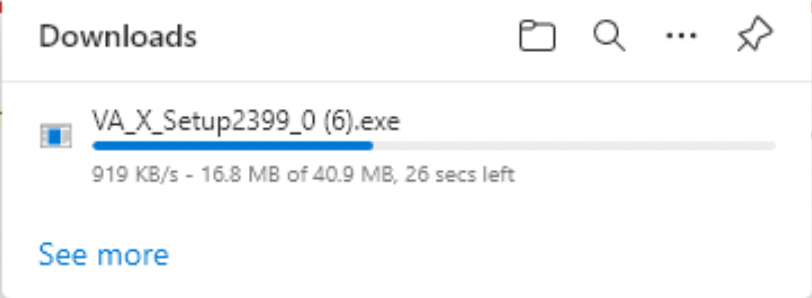
When you are done downloading the installation file, open it to begin the installation process. Visual Assist supports many versions of Visual Studio, and you can install it for any version you have on your computer.
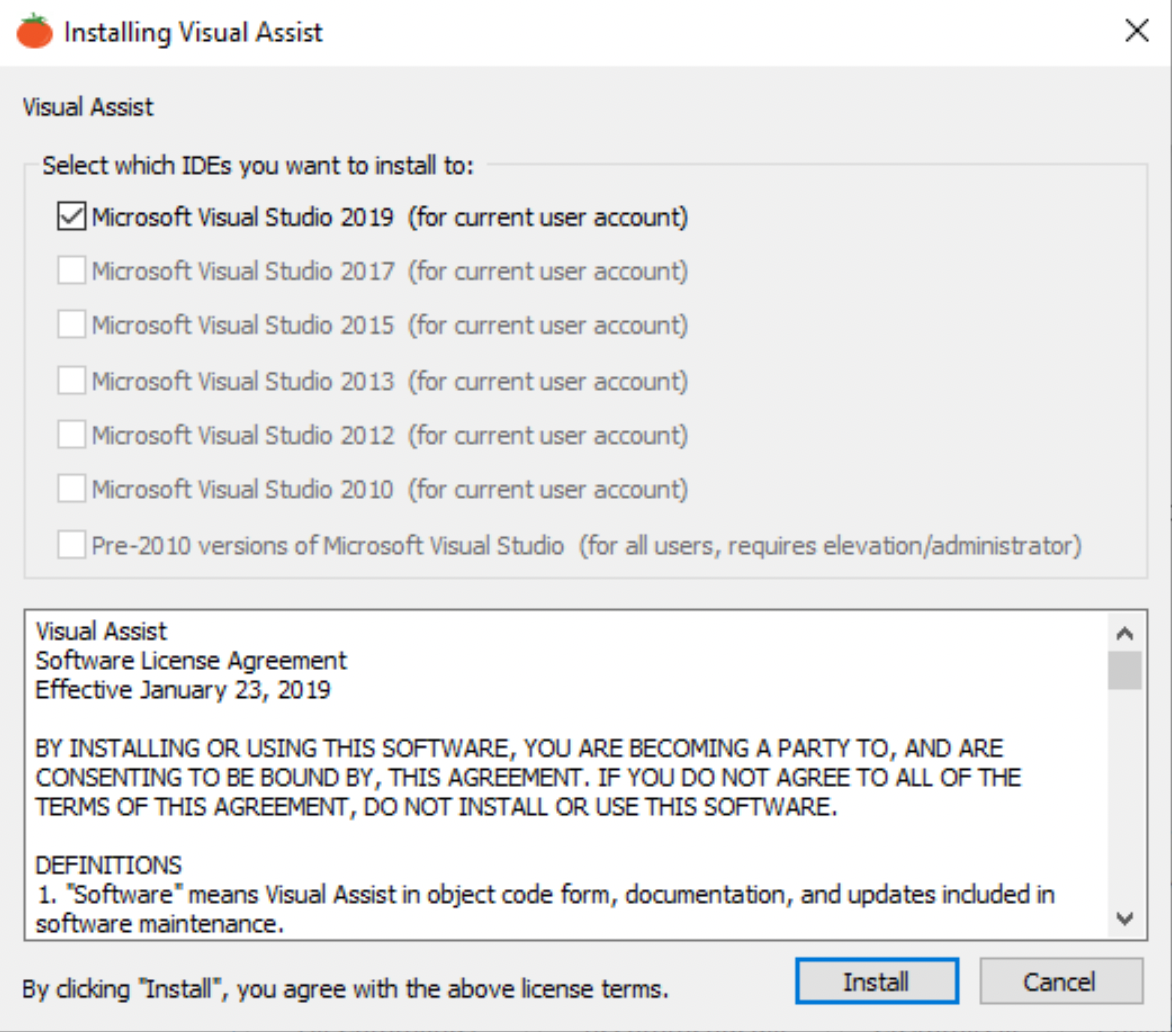
Once the installation is complete, you can immediately start making use of Visual Assist.
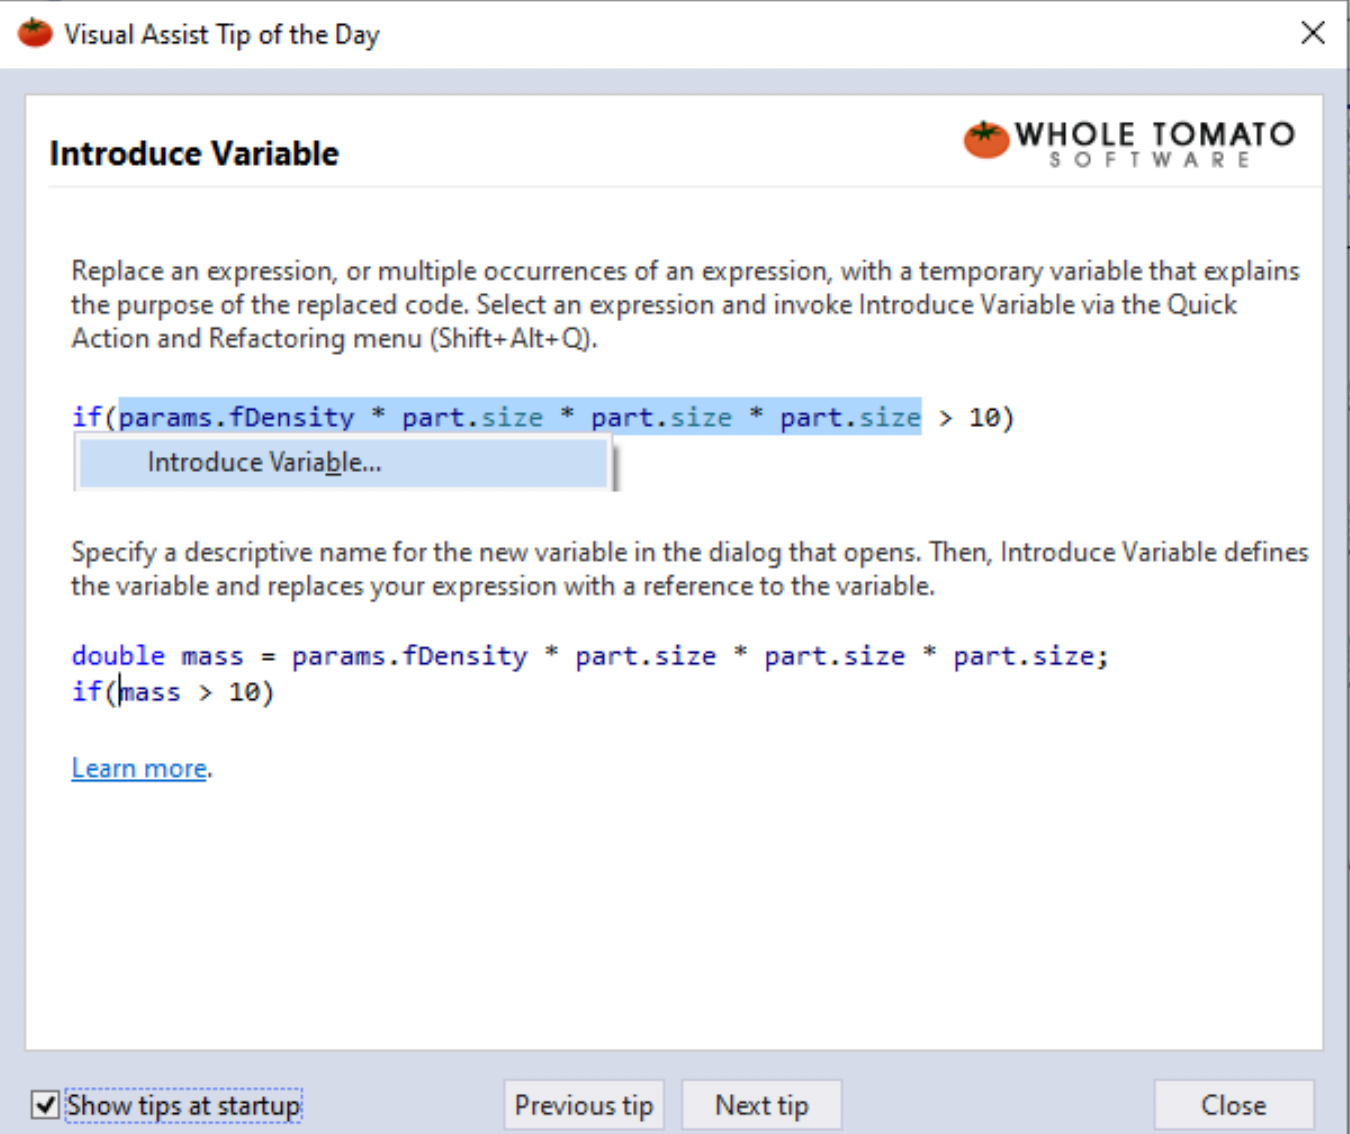
When you run Visual Studio, Visual Assist will show you a tip. You can turn this off, but we recommend you keep it on since it shows helpful information about what you can achieve each time you start.
And that’s it! Visual Assist is installed.
Visual Assist is very powerful but has a very low UI. That’s great for power users who know it well, but if you’re new to using it, it can be harder to discover all the things it can do. Read on for a short intro about using it with a new application.
Using Visual Assist
The following few steps show you how to create a new application in Visual C++. If you’re familiar with this, you can skip ahead to where we demonstrate Visual Assist.
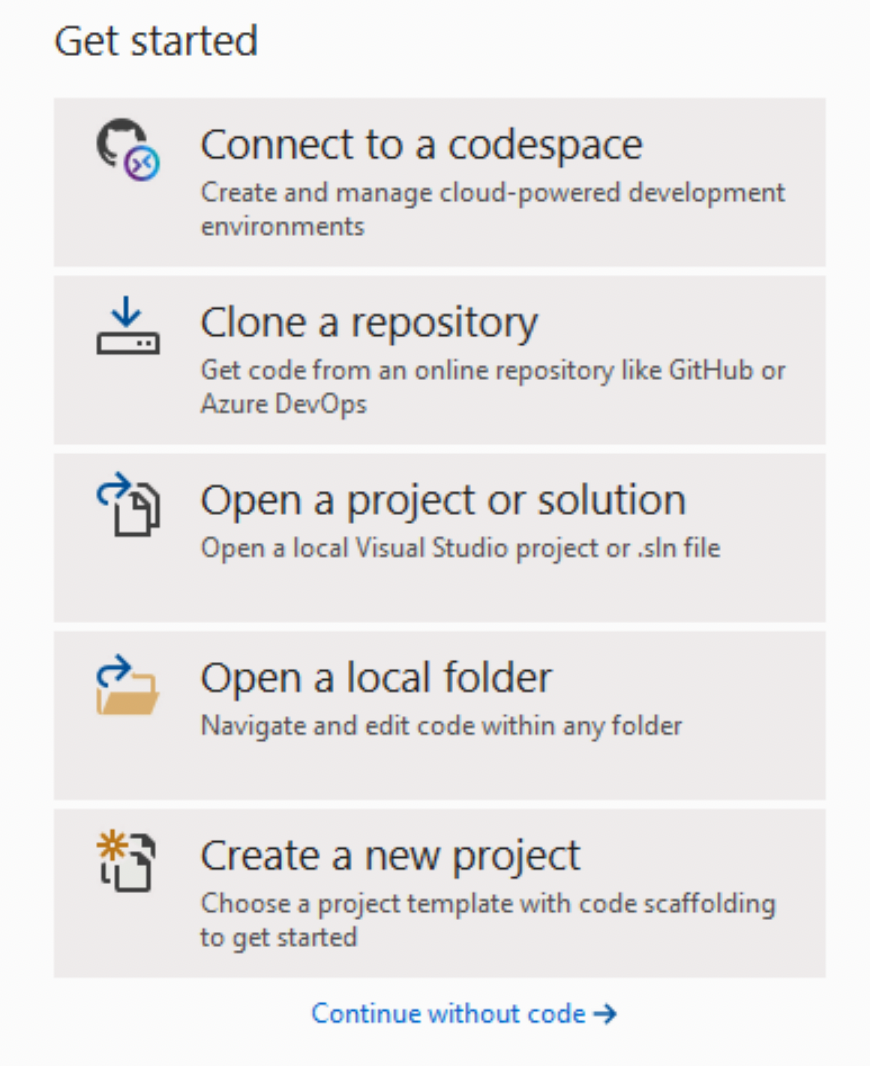
When starting Visual Studio, you will be directed to the Welcome page, where you will be able to create new projects from the pop-up window. Click on “Create new project” to move to the next step.
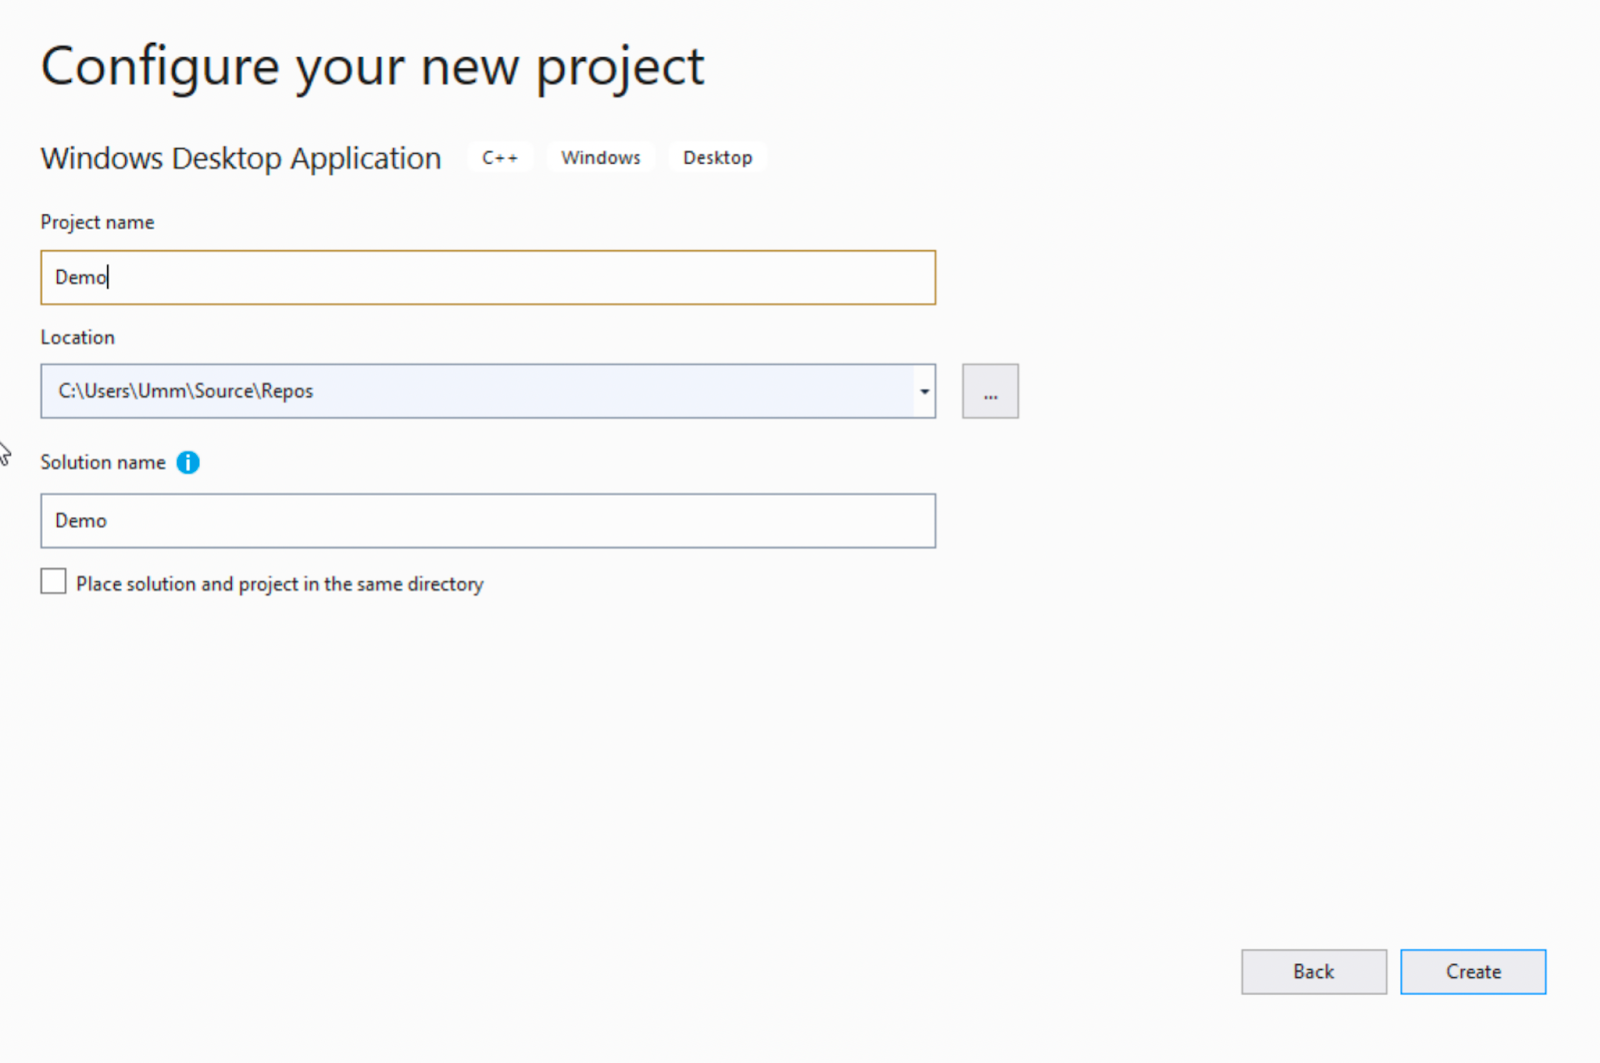
You can create different types of applications using Visual Studio. In this guide, we will create a Windows C++ application for the purpose of illustration.

Select Windows Desktop Application (note the C++ label) to start building your app. You can select whichever type of application you are interested in building. Once this is complete and you have successfully configured your project, you will finally be able to make use of Visual Assist. Click on “Create” and watch the magic unfold.
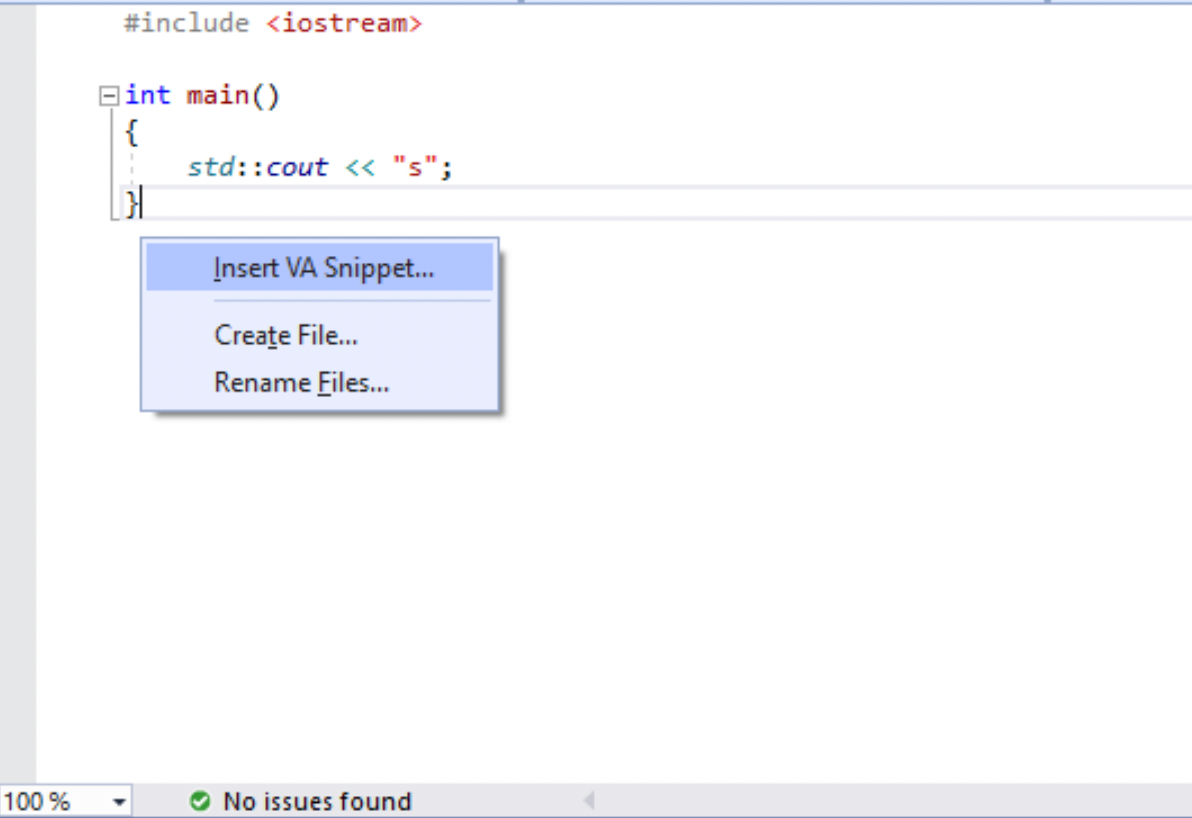
Note that Visual Assist is low UI to prevent it from getting in your way while making use of Visual Studio. Click on “Extensions” in the toolbar and navigate to “VAssistX,” which will present a list of functionalities that you can explore.

You can also access the Quick Action and Refactoring menu by using the following shortcut (Shift+Alt+Q). For a comprehensive list of keyboard shortcuts, click here.
3. Like Visual Assist?
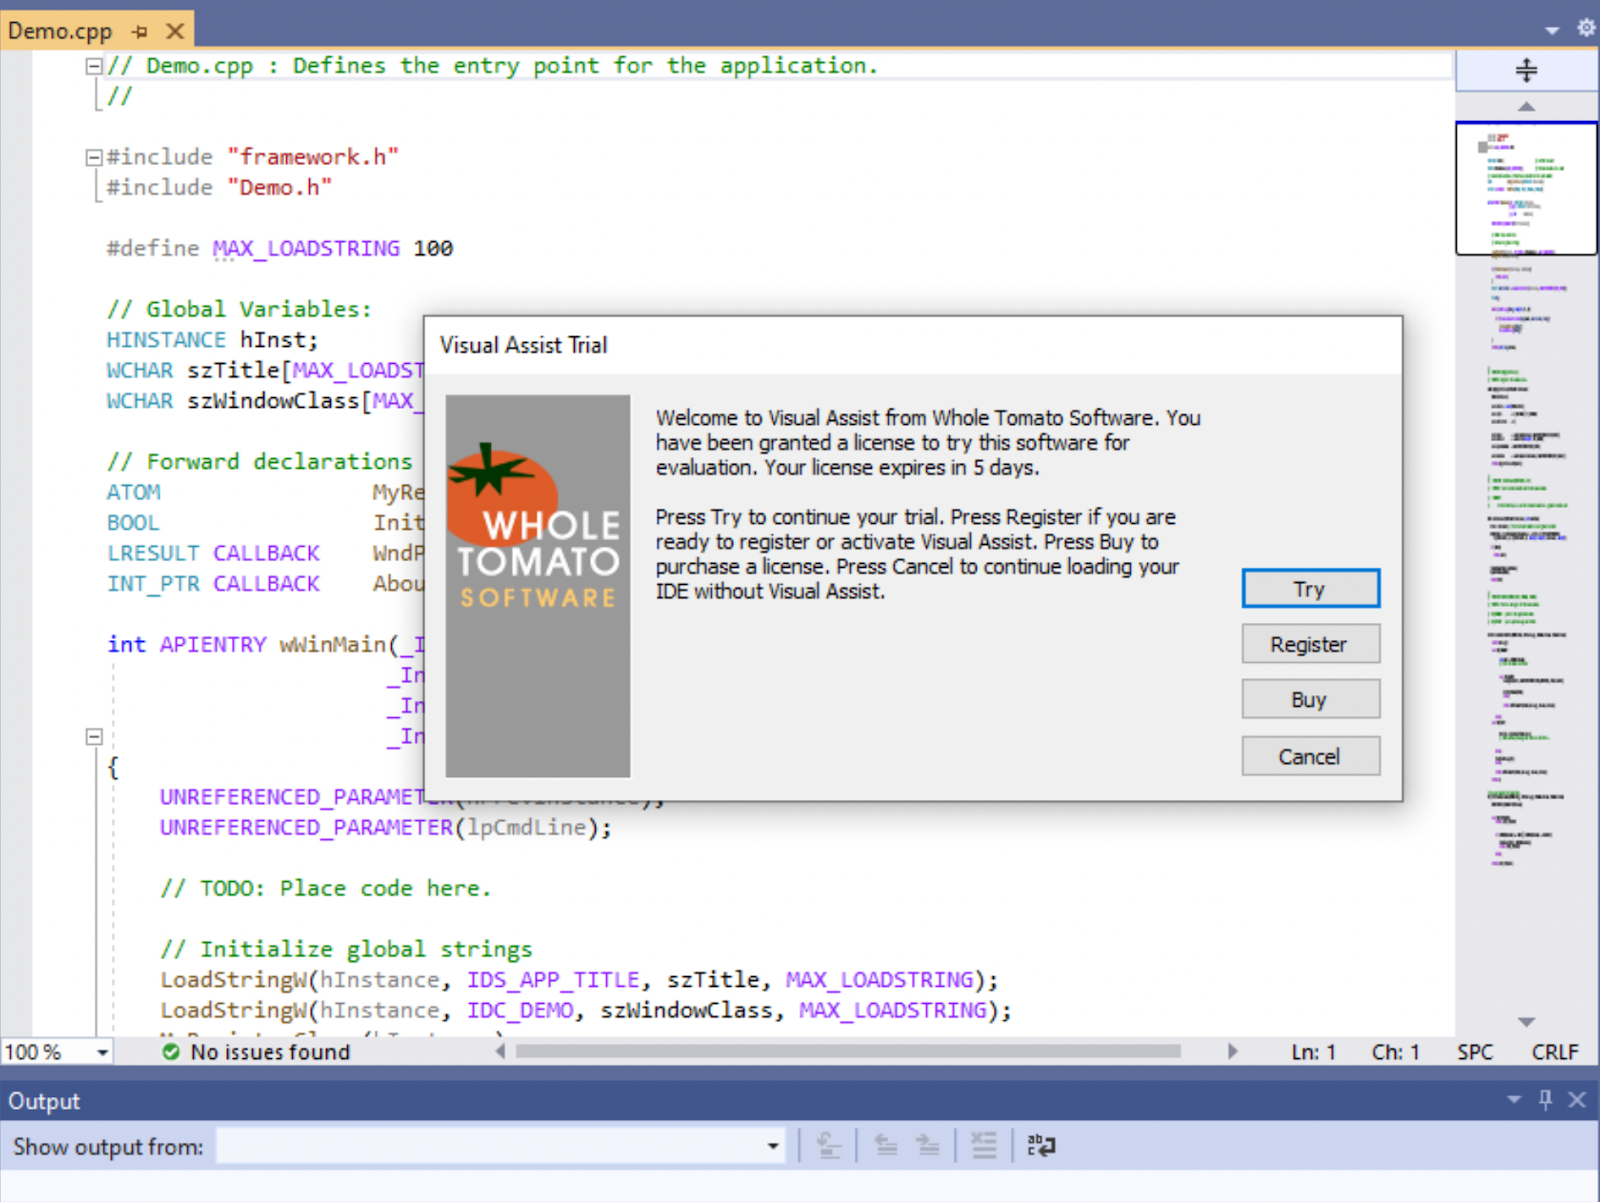
When your trial comes to an end, you will be prompted to use a license. Select “Buy” to purchase a license or “Register” to use an existing one.
By now you should be able to set up Visual Assist without any problem and start making use of it alongside Visual Studio. To find out more about Visual Assist and some of its functions, and why everyone from developers in major studios right down to students uses it, click here.